How to Translate Subtitles in Premiere Pro
Translate subtitles from the edit, not from memory
Subtitle translation is easiest when the source captions are already clean. If you start translating from a rough transcript, every correction has to be repeated in the target language. A Premiere Pro editor should treat translation as a finishing workflow: lock the spoken edit, create source captions, review the text against the timeline, then translate from the approved version.
This guide uses Smart Captions with Premiere Pro. The goal is to keep the subtitle work close to the edit so translated files match the final cut.
Step 1: Lock the spoken sections
Finish trims, remove false starts, and decide which spoken sections stay in the video. Do not translate subtitles while the dialogue edit is still moving. If the timing changes after translation, the subtitle file needs another review pass.
Step 2: Generate source captions
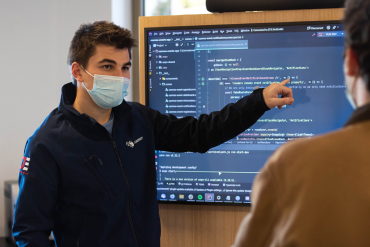
Use our Premiere Pro caption generator to create source captions from the edited sequence. Review names, product terms, and any phrase that depends on what appears on screen. This source text becomes the base for translation, so it deserves a careful pass.
Step 3: Break long lines before translation
Clean subtitle lines are easier to translate. Shorten long sentences, remove filler words that are not needed for meaning, and keep line breaks readable. This gives the translated version a better chance to fit the same scene.
Step 4: Translate the subtitle file
Use the subtitle translation plugin to prepare the target language. Translate only after the source text is stable. If the target language runs longer than the original, review the subtitle timing and shorten phrases where needed.
Step 5: Review translated subtitles against the video
Play the video with translated subtitles visible. Check whether the text covers important graphics, whether fast sections are readable, and whether names or brand terms stayed consistent. Translation review is not only linguistic. It is also visual.
Step 6: Export and archive the files
Export the translated subtitle file and save it with the project. Use a clear file name that includes the language and video version. If the client asks for another cut later, start from the reviewed subtitle file rather than translating from scratch.
Common mistakes to avoid
Do not translate from an old script when the final video has changed. Do not skip the source-caption review. Do not assume a sentence that fits in English will fit in another language. Most subtitle issues are small timing and readability problems that are easy to catch if the editor reviews the translated file in context.
When to use this workflow
This process fits tutorials, product videos, online courses, social clips, and client campaigns where Premiere Pro remains the finishing tool. For a deeper overview of the translation workflow, read how to translate subtitles in Premiere Pro.